


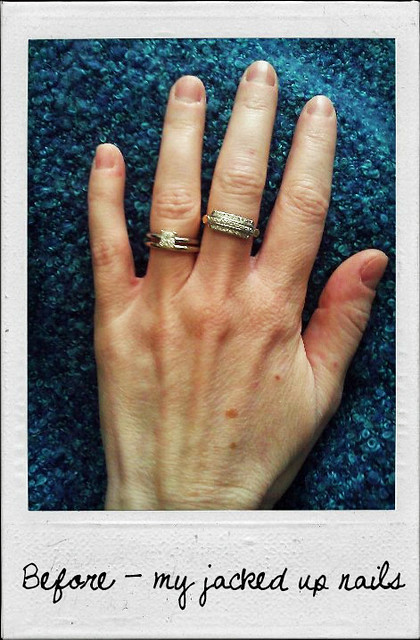
My hands, specifically my fingers and even more specifically my nails are wrecked. I have a nasty habit of destroying them when I’m stressed…and I have been seriously stressed for the past 5 months. I don’t pick my nails. (I apologize in advance for grossing you out…Sorry.) I have a habit of picking at my cuticles. Yup. Gross I know. But I also know there are some of you with the same bad habit, so I know you share my frustration. It makes my hands look rather unkempt. When I meet someone new I always pray they don’t notice my nails as I shake their hand.
So what’s my point? I’m making a beauty resolution this winter. I’m going to start taking care of my hands instead of abusing them. I want pretty I-could-be-a-hand-model nails. My plan? I’m going to start taking care of my nails and hands. My theory is if I make them all pretty and shiny I’ll be less likely to destroy them…even during moments of stress. I’m going to start today.
Here’s my step-by-step on how I’m going to have fantastic fingers by this time next month:
1: Exfoliate at least once a week.
2: Give those cuticles some TLC. Burt’s Bees makes a lovely Lemon Butter Cuticle Cream. The scent is fresh and sweet and the texture is fantastic.
3: Moisturize like a woman possessed. My hands have gotten D-R-Y this winter which is making them look all wrinkly and shriveled. This does not make me happy. I’ve tried Nivea’s Skin Crème in the past and found it too greasy, but I’m going to give it another go since my skin is so much drier.
4: Paint my nails and make them pretty pretty pretty. I’ve used some houndstooth stick on nail polish before and really liked it. It‘s easy to apply and lasts forever, but it is a bit pricey compared to a bottle of nail polish so I’ll probably stick to painting them myself. I think I’ll start with leopard print…and I’m even going to do a little tutorial so you can paint along.
How to: Leopard Inspired Nail Polish
I know it sounds intimidating but don’t worry. It’s actually really easy. Cross my heart. I suck at painting my nails and I can do it. You’ll need a base coat (I like Sally Hasen’s Double Duty base and top coat), three contrasting nail colors (I’m using grey for the base with pink and white for the leopard print) and a top coat.
-
Make sure your nails are all prepped: cuticles pushed back, nails filed…you get the idea.
-
Apply a base coat. Many people skip this step, but it really does make the polish go on more smoothly and evenly.
-
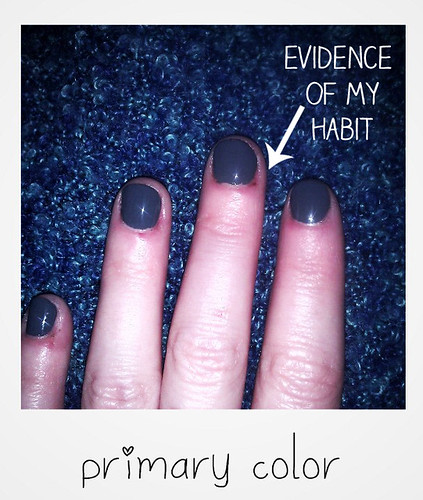
Once your base coat is dry, apply your primary color. This color will be the background for the leopard print. Let it dry completely.
-
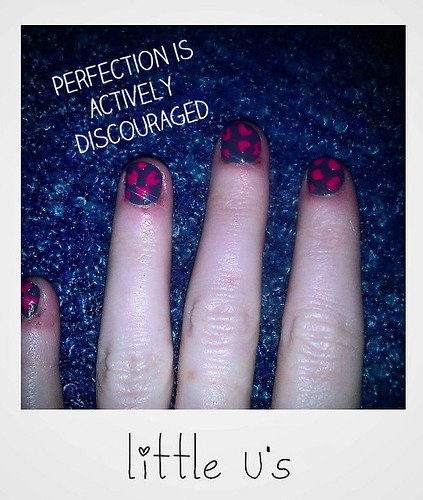
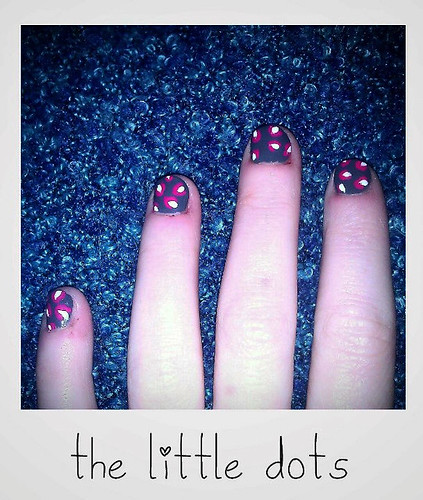
The next color will be your spots. Use the brush to make little U-shapes randomly all over the nail and then let those little puppies dry.
-
Once your little U’s are dry you’ll use your third color to make a small dot inside the pocket of the U-shapes.
-
When your dots are dry slap on your top coat and you’re all done! Your nails are now fashionably feline and ferocious. ME-OW!
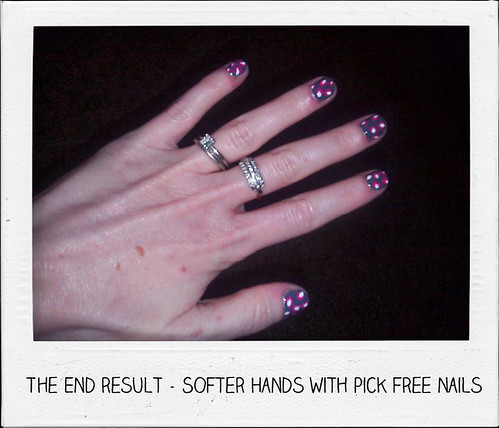
So let’s check back in a month and see how my fingers are fairing, shall we? Hopefully this will do the trick and transform my nails from atrocious to astounding.
Do you have any bad habits you’re trying to break this new year? Do you have any tips or cool nail polish tricks? I’d love to hear them! Just post them in the comments section below.