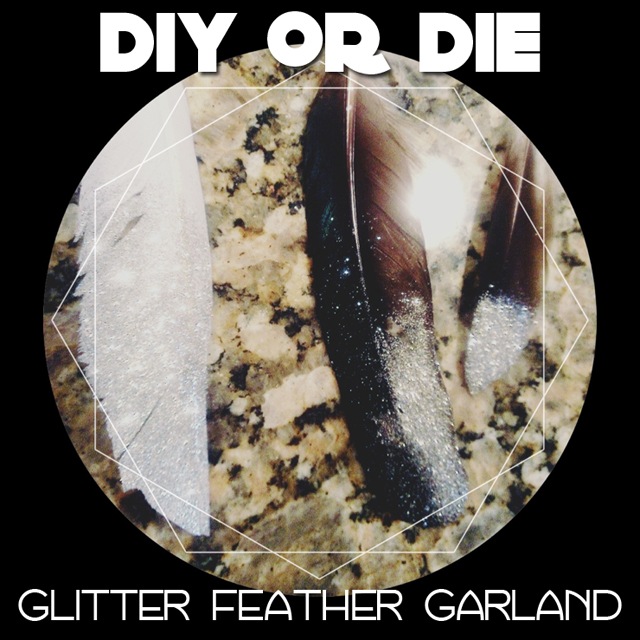
SO AS I WANDERED ABOUT THE INTERWEB a few weeks ago I stumbled across a swoon-worthy image of a glittery feather and loved it so much that I decided I needed my own glittered feathers for my holiday festivities.
ENTER GLITTER FEATHER GARLANDS
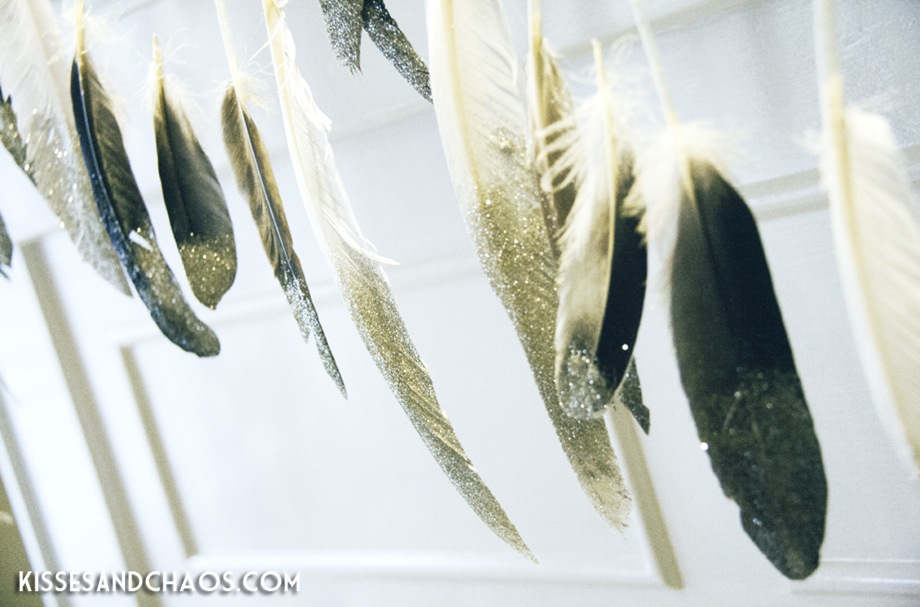
THEY’RE SO EASY TO MAKE I was shocked. Stunned really. Let me break it down for you (get it…down for you…I know, I know…awful pun):
SUPPLIES:
* Feathers: any size or color will do
* Glitter: in whatever color strikes your fancy
* Spray Adhesive: available with art supplies – the faster it dries the better
* Disposable Gloves: rubber or latex
* Sewing needle & thread/monofilament
* Newspaper
INSTRUCTIONS:
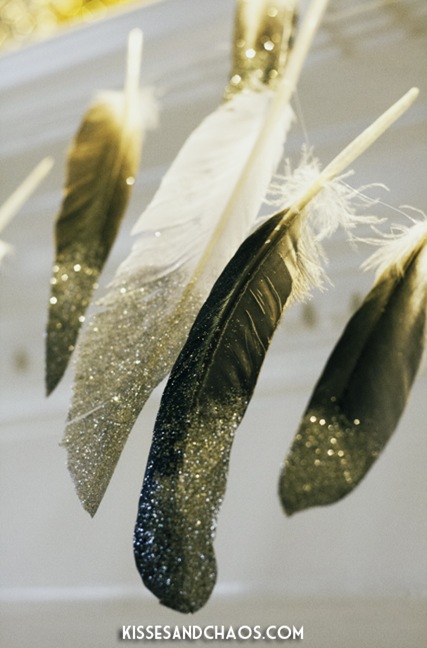
SINCE I USED SILVER AND GOLD glitter I separated my feathers into two piles: one for each color.
LAY OUT SOME NEWSPAPER to use as your work surface…unless you want everything to have glitter glued to it forever.
GRAB YOUR SPRAY ADHESIVE throw on your work gloves and, in a well ventilated area (cause those fumes are toxic AND flamable so stay away flames, cigarettes, pilot lights…you get the idea) lightly spray the front and back tips of the feathers.
**NOTE: the adhesive needs a couple of moments to get tacky so I would spray several in a row then begin working with the first feather after about a minute.**
ONCE THE ADHESIVE IS TACKY (read product label for exact times) then sprinkle glitter* on the front and back and set aside to dry for about 3 hours (once again, read your adhesive instructions for exact drying times).
AFTER THE FEATHERS HAVE ALL DRIED it’s time to string them together. Just warning you now, if you use monofilament it will look amazing but you will go blind trying to work with it. It’s a bitch to see…which is precisely the point.
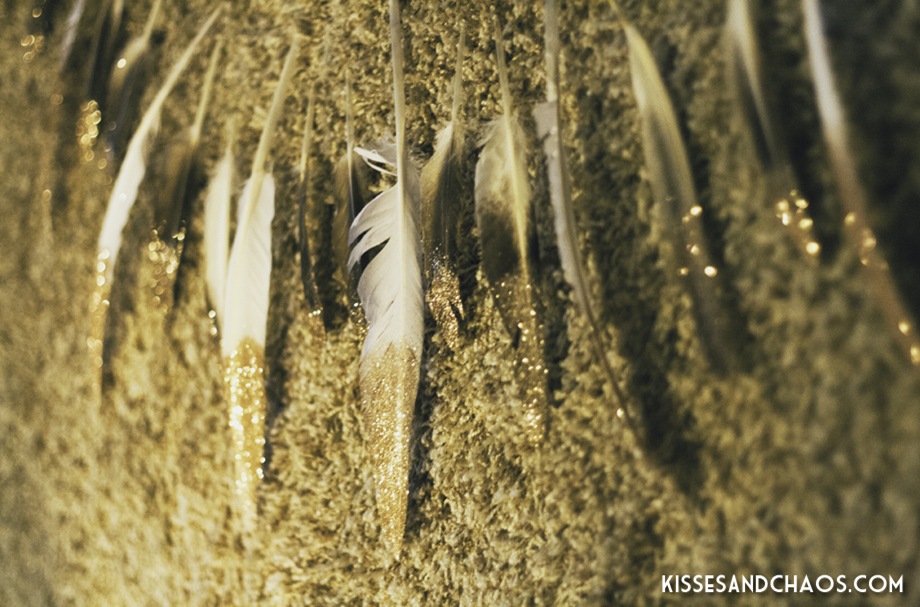
LAY OUT THE FEATHERS in the pattern you want and thread your needle. Run the needle through the opaque white part of the quill just below where the feather starts. This is the softest spot. The tip is hard as a rock so if you try to thread it there you’ll get nowhere fast. Pull the thread through and leave enough of a tail to hang the garland.
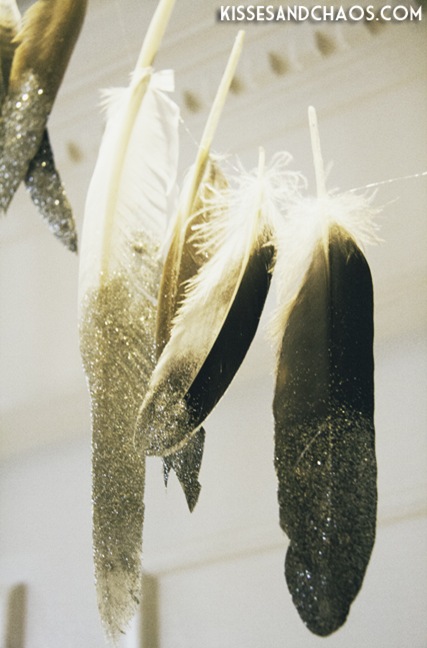
ONCE THE FEATHER IS IN PLACE you want to secure it. Loop the thread around the quill and pull the needle through as though you’re making a knot – which you are…it works like a slipknot. You’ll still be able to slide the feathers around and adjust for spacing but it will essentially keep them from sliding around all willy-nilly.
KEEP THREADING THE FEATHERS until your garland is the length you want, being sure to leave a tail of thread at both ends so you can hang it.
SPREAD THE GARLAND OUT and adjust the spacing of the feathers to your liking.
HANG THAT BABY UP AND YOU’RE DONE.
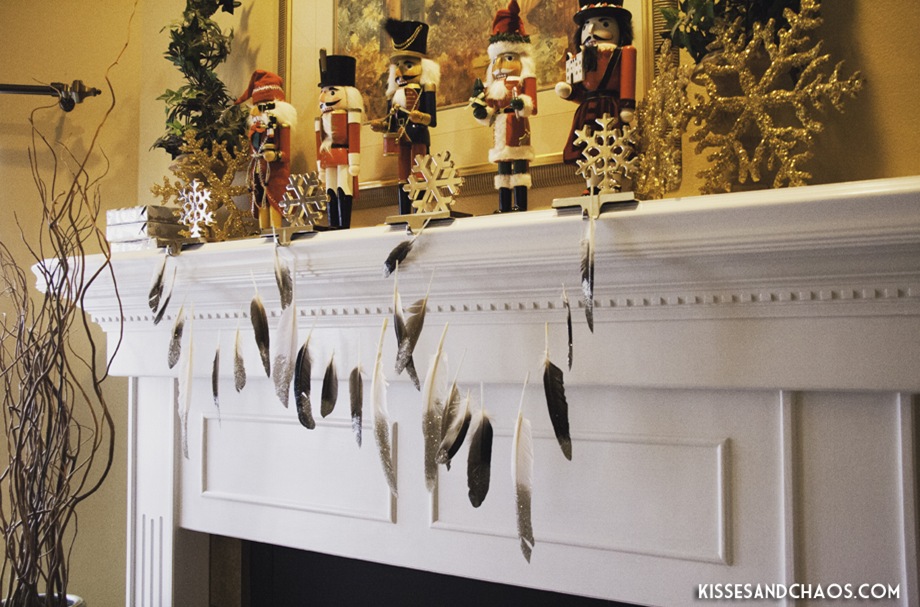
YOU ARE NOW THE PROUD OWNER AND CREATOR of a beautiful glittered feather garland for your mantle, your wall, your tree or anywhere else you feel like stringing that little beauty up.
I WANT TO SEE YOUR PICTURES if you make one. Leave a link in the comments or share it over on my facebook page. I love to see what you crafty little minxes (and whatever the male equivalent of a minx is for you crafty fellas out there) create.
Kisses & Chaos,
Alli Woods Frederick
PS – WORRIED ABOUT STORING THEM for next year? Stuff an empty paper towel roll with crumpled newspaper (packed tightly so the roll is good and solid). Roll the garland gently around the roll, taping down the ends of the monofilament, being sure to leave a tail so it will be easy to unwind next year. Put them carefully in a large ziploc bag to wrangle loose glitter and protect the feathers and store them carefully with your other holiday goodies.
* Don’t want to waste glitter? Here’s a trick I learned from Martha Stewart ages ago: Crease a piece of typing paper and place it crease side down (so the edges of the paper lift up to create a V shape). Apply your glitter over the paper. When you’re all done carefully pick up the paper and use the channel created by the crease to pour the leftover glitter back into the jar. Ta-dum! Glitter saved.
images :: © 2013 alli woods frederick for kisses & chaos. all rights reserved. ::
