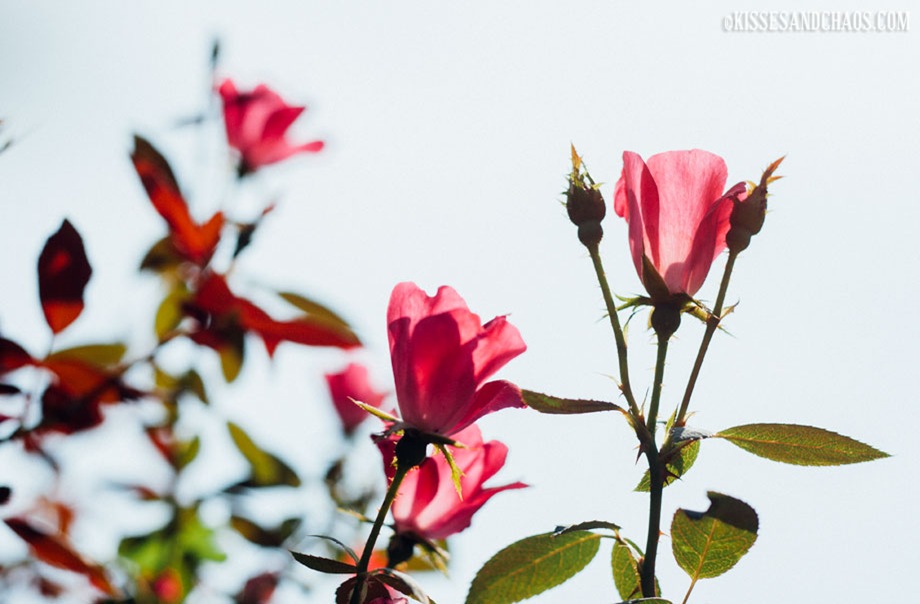
Oh, rosewater. I see you in beauty stores in your perfect packaging with your glass bottles, beautiful fonts and clean design begging me to drop what little hard earned cash I’ve busted my ass off for to take home your natural, aromatic promises of near miracles in a bottle. When used as topically, the magic packed skin tonic claims to:
* be good for all skin types
* sooth and refresh the skin
* gently moisturize and tone
* help calm skin by reducing redness and inflammation
* help with acne, eczema and rosacea*
* help maintain the elastin in your skin**
* reduce wrinkles and tighten pores*THIS IS NOT A CURE OR REPLACEMENT FOR THE MEDICAL TREATMENT OF ANY HEALTH CONDITIONS. DO NOT DISCONTINUE ANY MEDICAL TREATMENTS PRESCRIBED BY YOUR DOCTOR. IF YOU HAVE A MEDICAL CONDITION CONSULT WITH YOUR DOCTOR BEFORE USE OR MAKING ANY CHANGES TO YOUR MEDICAL TREATMENTS.
**CLAIMS HAVE NOT BEEN SUPPORTED BY CLINICAL RESEARCH.
Oh, fancy store bought rosewater with all your prettiness, how you tempt me. But I know your secret. I know the truth. I know what everyone should know which are these two not-so-secret secrets:
1) You are, in fact, rose water. Those are your only two necessary ingredients. Roses and water. And that’s it. And…
2) You are insanely easy for me to make at home on my own for next to nothing, as compared to your oft pricey tags when I buy you in your pretty, pretty stores with your pretty, pretty packaging.
So, rosewater, I’m blowing your cover so other women (and men) can reap all your benefits without dropping unnecessary coin, no matter how enticing your font choices on those beautiful bottles may be. No hard feelings? Good. So let’s get this rosewater infusion making party started.
BEAUTIFY YOUR SKIN WITH DIY ROSEWATER

:: NOTE: THIS TUTORIAL MAKES A VERY SIMPLE, BUT EFFECTIVE, INFUSION. PURE, DISTILLED ROSEWATER REQUIRES A DISTILLATION PROCESS WHICH IS A LITTLE MORE INVOLVED (OKAY, A LOT MORE INVOLVED – COMPARATIVELY) AND REQUIRES THINGS LIKE A BRICK OR RAMEKIN (WHATEVER THE HELL THAT IS), TEMPERED GLASS BOWLS, A STEADY SUPPLY OF ICE AND MUCH MORE ATTENTION AND CARE WHICH RESULTS IN A MORE POTENT ROSEWATER. IF YOUR CURIOSITY IS PIQUED AND YOU’D LIKE TO LEARN THIS PROCESS OR HOW TO MAKE YOUR OWN ROSE OIL, LET ME KNOW AND I’LL GLADLY PUT TOGETHER A DIY OR DIE SO YOU CAN LEARN THE PROCESS. ::
SUPPLIES:
* Fresh, organic rose petals. Organic is important. Washing and boiling won’t remove the chemicals and those toxins are going directly into your skin which then goes into your blood stream…and toxins do NOT give you a happy body or skin. Go organic. I know they cost a bit more, but a little goes a long way and it’s not like you need five dozen of them. I suggest making small batches to ensure quality and prevent waste. A little rosewater goes a long way.
:: I HAVE ROSE BUSHES IN MY BACKYARD SO I KNOW THEY’RE ORGANIC. LUCKY ME. BUT IF YOU HAVE TO BUY YOUR ROSES, MAKE SURE TO ASK IF THEY’RE ORGANIC, EVEN IF THEY’RE AT THE FARMERS’ MARKET (WHICH WILL BE YOUR BEST BET FOR NOT ONLY FINDING THEM BUT FOR SELECTION AND PRICE). REMEMBER: THE PETALS DON’T HAVE TO BE PERFECT, SO EVEN IF THEY’RE A TAD WONKY OR ON THE DROOPY SIDE, THEY’RE STILL FINE TO USE (AND YOU MIGHT EVEN GET THEM TO CUT YOU A DEAL ON BLOOMS THAT ARE JUST BARELY PAST THEIR PRIME SINCE IMPERFECTIONS CAN OFTEN MEAN A ONE WAY TICKET TO THE DUMPSTER OR COMPOST PILE) – JUST BE SURE THEY’RE ORGANIC. I CANNOT STRESS THIS ENOUGH. JUST NO BROWNED OR SERIOUSLY WILTED PETALS. IMPERFECTIONS AND SLIGHT AGING ARE FINE, JUST NOTHING ROTTING. YOU DON’T WANT TO RUB ROTTING FLOWERS ON YOUR FACE. BLECH. ::
* A colander (for rinsing and straining the rose petals).
* A small pot (or pots if you’re using different varieties of roses) with a lid.
* Distilled water.
* A clean bowl (for the strained rosewater).
* A funnel (for help bottling the rosewater).
* Sterile glass jars or bottles with lids for storage.
INSTRUCTIONS:
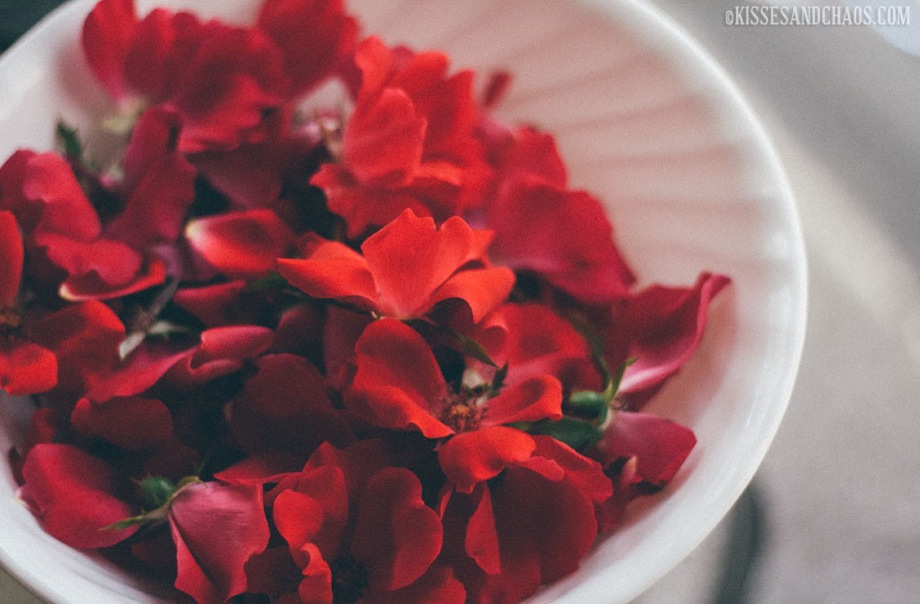
1) Either pick or purchase your organic roses. If you’re picking your own roses, try to pick them in the morning before the sun has had its way with them.
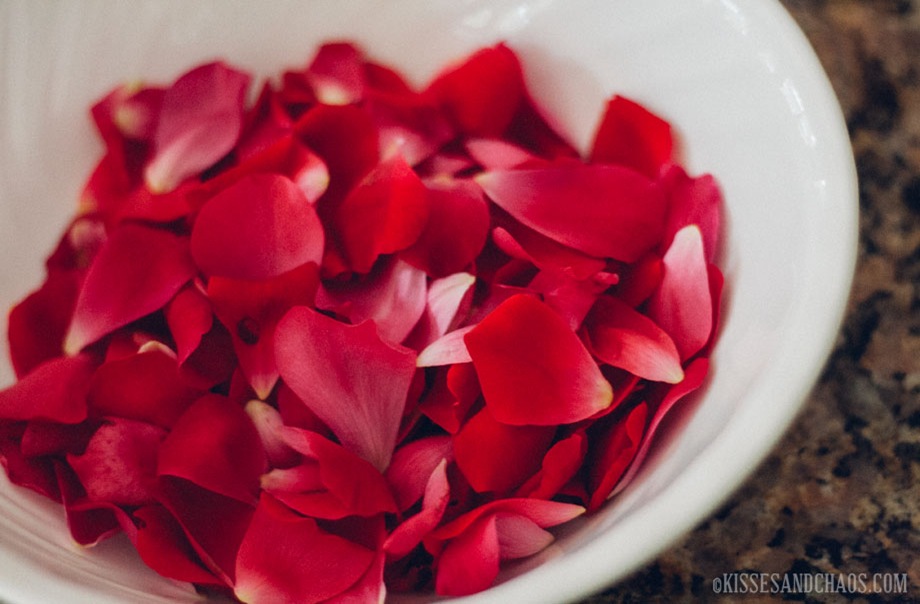
2) Gently pluck the petals from your roses and place them in the colander. Once you have all your petals plucked, gently but thoroughly wash them off to remove any dirt and bugs.
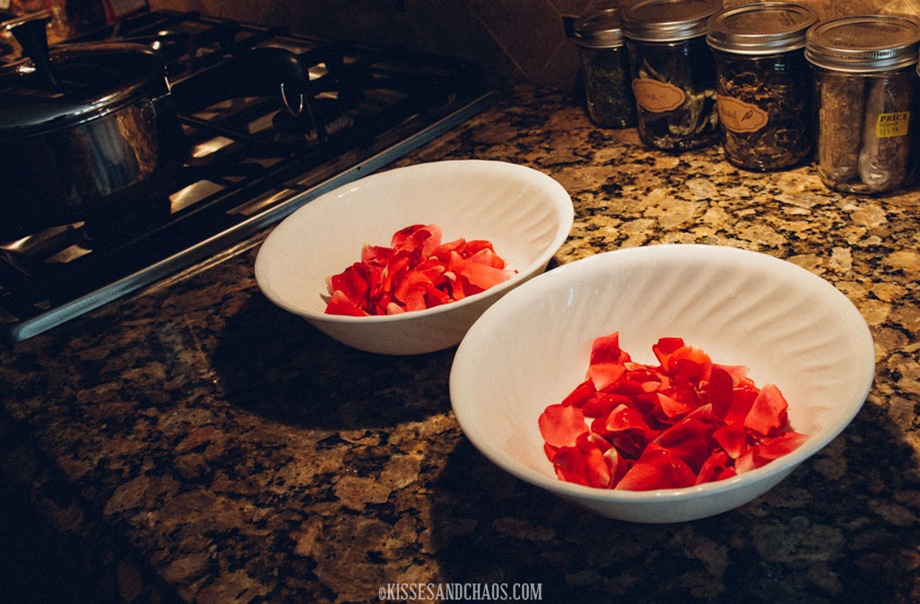
3) OPTIONAL: I made two batches. One batch with the petals intact, and one batch with the petals bruised (which is a fancy way of saying mashed up). Bruising the petals helps release more oil. Basically I wanted to see if it would make a difference in the strength/potency of the finished product. I can’t honestly be sure since I have no way to measure such things, but the bruised batch was much, much darker in color and much stronger in scent. It also required a LOT more straining to remove debris so have cheesecloth handy while straining if you want to try this technique.
:: (If you decide to experiment and play with your rosewater I would love to hear your results. Feel free to share them in the comments.) ::
4) Place your petals in the pot (or pots).
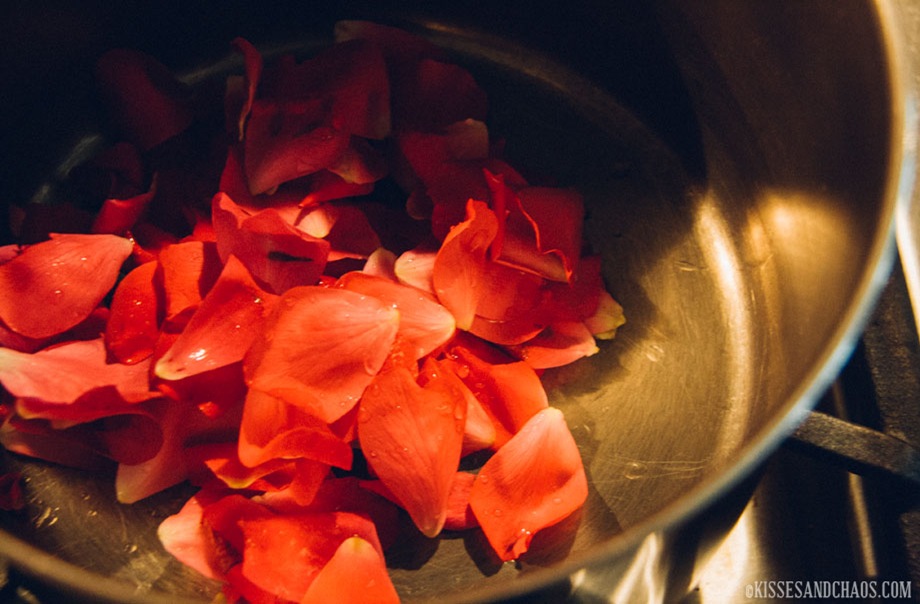
(MY POT OF PLAIN, WASHED ROSE PETALS AND…
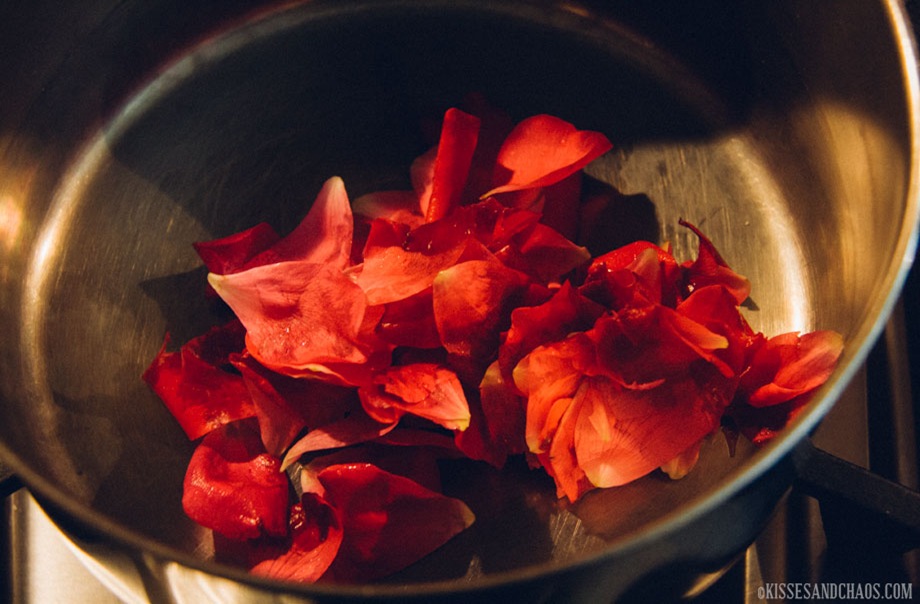
…MY SECOND POT OF BRUISED ROSE PETALS.)
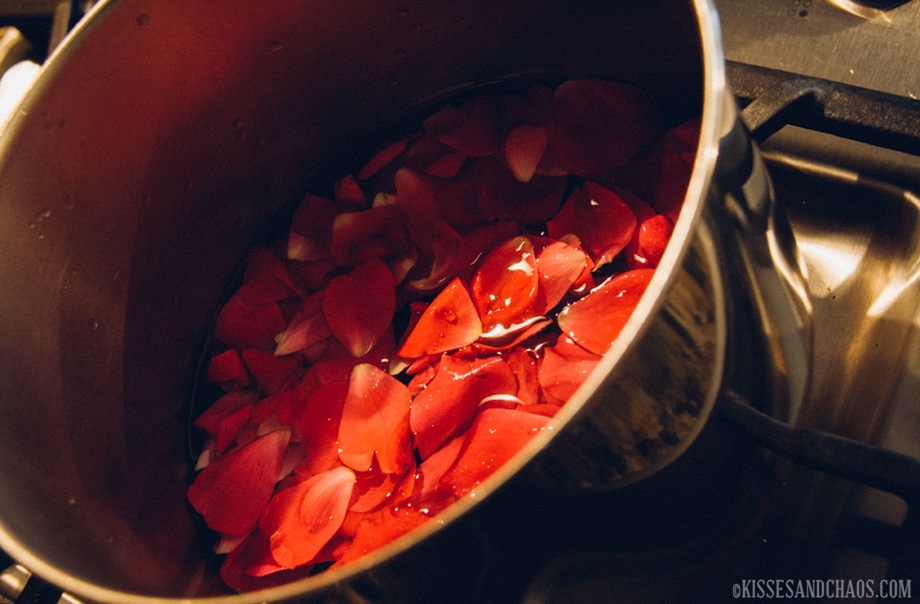
5) Pour just enough distilled water into the pot(s) to cover the rose petals. Don’t go overboard. Too much water will dilute your rosewater and make it less rosewater-y.
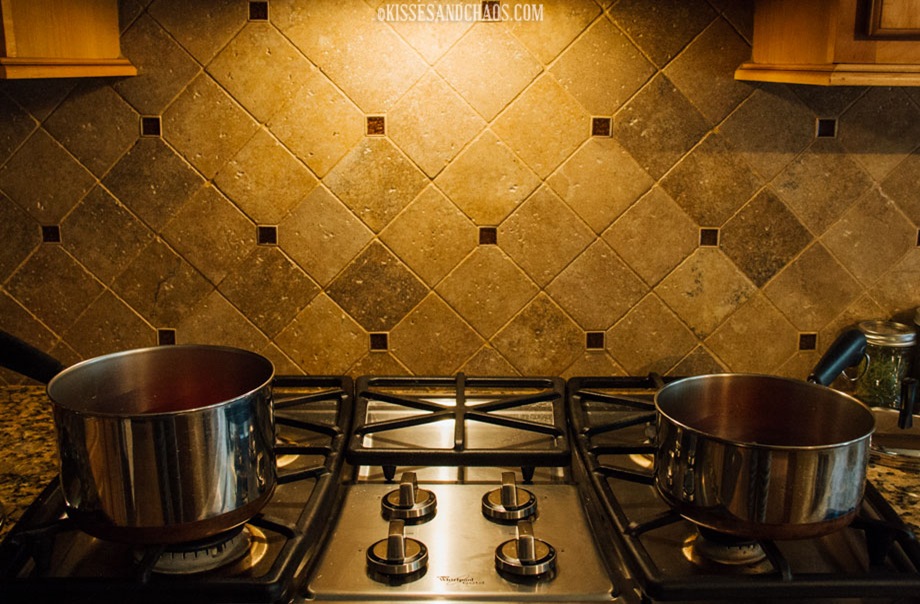
6) Stick the lid on your pot and, with the burners on low, bring to a gentle rolling boil. Then reduce the heat and allow to simmer. Make sure you keep the lid on so you don’t lose all the rosy goodness to evaporation.
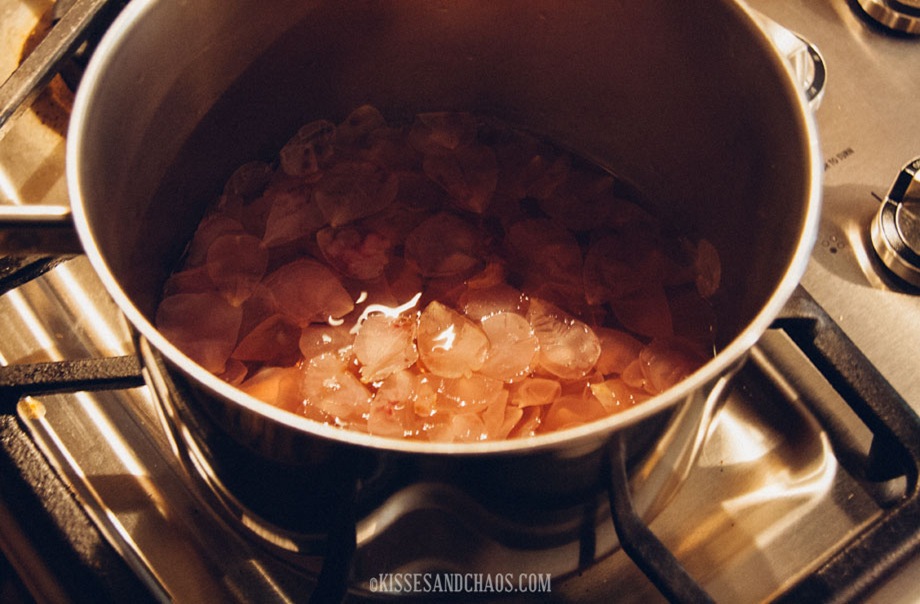
7) Allow to simmer until the petals lose their color. Times will vary so make sure you keep checking on it. I checked mine about every ten minutes or so.
8) Once your rosewater is done. Turn off the burner and allow the rosewater to cool, making sure to leave the lid on the pot.
9) When your rosewater has cooled, use the colander (or colander with cheesecloth if you use a bruised batch) to strain all the petals and debris from the water.
10) Using a funnel, pour your pretty fragrant rosewater into a clean bottle or jar. Pop a lid on it and store it in the fridge between uses. (It really feels delightful and refreshing on the skin when it’s cold.)
11) Once it’s chilled, pour some on a cotton ball, give your clean, gorgeous face a swipe and enjoy.
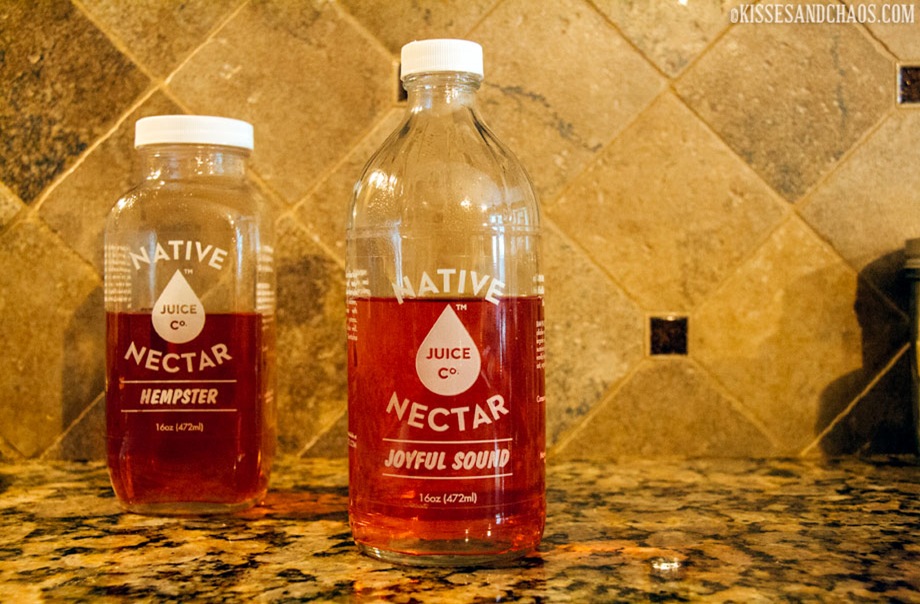
:: I RECYCLED BOTTLES FROM MY FAVORITE LOCAL JUICERY (AND DON’T EVEN GET ME STARTED ON THEIR NUT MILKS – HOLY SH*T ARE THEY DELICIOUS. YOU HAVE NO IDEA), NATIVE NECTAR, TO STORE MY ROSEWATER. AND WHEN IT’S GONE I’LL BE RETURNING THE BOTTLES TO NATIVE NECTAR BECAUSE THEY REUSE THEIR BOTTLES. LOVE IT. REDUCE. REUSE. RECYCLE. ::
And that’s all there is to it. You now have a bottle of homemade rosewater to beautify your already beautiful face. If you like you can add a few extra drops of rose absolute essential oil for a little extra oomph. Just make sure you use genuine, absolute essential oil. Most rose essential oil is artificial which would defeat the purpose. So make sure you’re buying the good stuff so you can reap all the benefits.
And don’t be afraid to play. Remember different roses yield different results so experiment until you find the roses that work for you.
Enjoy!
Rose Scented Kisses & Flowery Chaos,
Alli Woods Frederick


